Teaching meter can feel surprisingly abstract to elementary music students. They may be able to identify a 3/4 or 4/4 time signature on a worksheet without really understanding what those numbers mean—or, more importantly, feeling the organization of beats in the music they hear.
One of the most effective ways to teach meter is to start with what students can hear and feel before moving to written time signatures, measures, and bar lines.
Here’s a simple progression I use for helping students understand meter, along with classical music examples you can use for listening practice.
What Is Meter in Music?
Meter is the way beats are organized into recurring groups.
Students first need to understand that although music has a steady beat, not every beat feels equally strong. Beats naturally fall into patterns of strong and weak beats.
For example:
Meter in 2:
STRONG – weak | STRONG – weak
Meter in 3:
STRONG – weak – weak | STRONG – weak – weak
Meter in 4:
STRONG – weak – weak – weak | STRONG – weak – weak – weak
Before introducing the written time signature, give students plenty of opportunities to hear, move to, and identify these beat groupings.
Step 1: Start With the Steady Beat
Before students can understand meter, they need to be able to maintain a steady beat.
Play a piece of music and have students pat the beat on their laps, walk the beat around the room, or keep the beat with rhythm instruments.
Then ask:
Do any of the beats seem stronger than the others?
Begin emphasizing the strongest beat with a different movement. Students might clap on the strong beat and pat the remaining beats.
For music in three, for example:
PAT – clap – clap | PAT – clap – clap
This lets students physically experience the meter before they have to name it.
Step 2: Find the Strong Beat
Once students can maintain the beat, ask them to listen specifically for the strong beat or downbeat.
Try conducting or moving differently on beat one. You can also have students stand, clap, tap a drum, or make one larger movement whenever they hear the strong beat.
Then count the number of beats from one strong beat to the next.
If the pattern feels like:
STRONG – weak – weak | STRONG – weak – weak
students are beginning to experience triple meter.
If they hear:
STRONG – weak – weak – weak | STRONG – weak – weak – weak
they’re hearing a four-beat organization.
This is a much more meaningful introduction to meter than simply showing students a time signature and explaining what the numbers mean.
Step 3: Compare Music in Different Meters
One of the best ways to show what a specific meter is.. is to show what it is NOT.
Play two contrasting pieces and ask students to keep the beat while listening for the strong beat.
Try comparing a piece in triple meter with one in duple or quadruple meter.
Ask:
- Where is the strong beat?
- How many beats do you hear before the next strong beat?
- Does the music feel like it is organized in 2, 3, or 4?
- Can you conduct the meter while you listen?
Waltzes are especially helpful when introducing triple meter because the ONE-two-three pattern is often easy for students to feel.
Classical Music for Teaching Meter
I created this playlist specifically for meter listening practice. It includes six familiar classical pieces that give students opportunities to listen for and compare different beat groupings.
Classical Music Meter Playlist
1. Vivaldi — The Four Seasons: Autumn
Have students find the steady beat first and then listen for how those beats are grouped.
2. Johann Strauss II — The Blue Danube
An excellent example for experiencing triple meter. Have students pat ONE-two-three and make beat one larger.
3. Beethoven — Ode to Joy
Use this familiar melody to practice maintaining the beat and identifying recurring strong beats.
4. Mozart — Rondo alla Turca (Turkish March)
Have students keep the beat first, then listen for where each new grouping begins.
5. Grieg — In the Hall of the Mountain King
This is especially fun for practicing meter because students can keep the beat while noticing that the tempo gradually changes. It reinforces an important distinction: tempo can change while the organization of the beats remains consistent.
6. Johann Strauss II — Voices of Spring Waltz
Another opportunity to hear and physically experience the characteristic three-beat pattern of a waltz.
You could listen to one selection at the beginning of several consecutive music classes rather than completing the entire playlist at once.
Step 4: Connect What Students Hear to Time Signatures
Once students can hear beat groupings, introduce the written time signature.
Now the notation represents something they have already experienced.
Show students how the beats they have been hearing can be organized visually into measures, with bar lines separating one measure from the next.
For example:
1 2 3 | 1 2 3 | 1 2 3
can now be connected to a written meter such as 3/4 (in my teaching i use 3/❤️ because it is 3 beats in a measure. The bottom number is introduced later).
This is also a good time to discuss what the numbers in a time signature tell us and have students practice adding bar lines to rhythms.
The important difference is that students aren’t learning these symbols in isolation. They’re connecting the notation to a musical pattern they already know how to hear.
Step 5: Move From Listening to Reading
After students have experienced meter through movement and listening, written practice can reinforce the concept.
Students can practice:
- identifying time signatures
- finding strong and weak beats
- determining how many beats belong in each measure
- adding missing bar lines
- identifying measures
- comparing different meters
- listening to music and identifying its meter
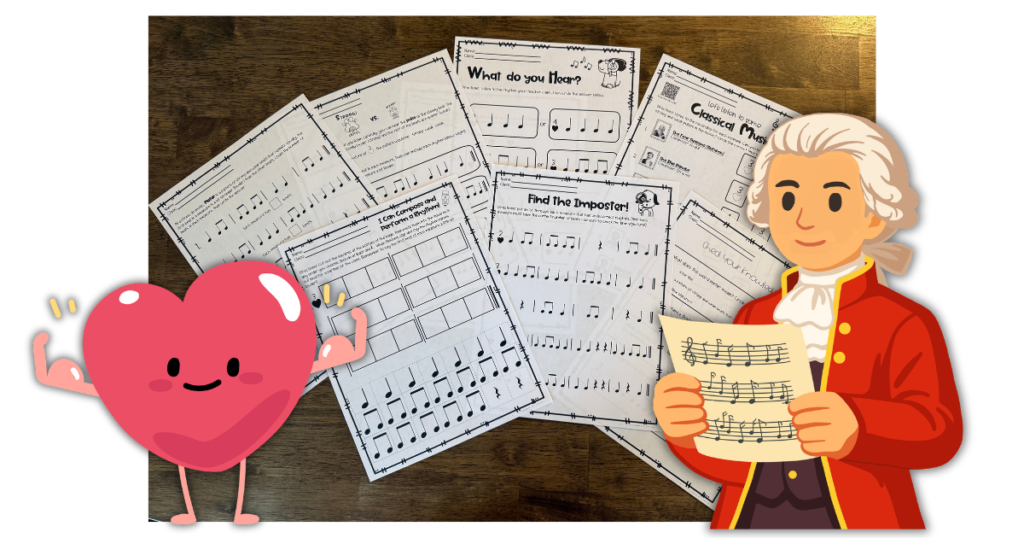
I created my Rhythm Worksheets: Time Signatures, Meter, Bar Lines & Measures to follow this same progression.
The set includes 13 worksheets, answer keys, teacher guidance, and listening activities. The classical music playlist above is included so students can apply what they’re learning on paper to actual music rather than treating meter as only a notation exercise.
The Goal: Hear Meter Before Naming It
Ultimately, I want students to understand that a time signature isn’t simply two numbers written at the beginning of a piece of music.
It represents something they can hear and feel.
A simple sequence of:
feel the beat → find the strong beat → hear the grouping → identify the meter → see the notation → practice reading it
helps students build that connection between musical sound and written notation.
And once students begin hearing music in groups of beats, concepts like time signatures, measures, and bar lines make much more sense.